Categories
Free kitchen island plans PDFs offer a comprehensive guide for DIY enthusiasts, providing detailed instructions and measurements to create functional and stylish kitchen islands․
These downloadable resources cater to various skill levels and kitchen layouts, making it easy to enhance your space with a custom island․
Kitchen islands have become a staple in modern kitchens due to their versatility and functionality․ They provide additional counter space, enhancing food preparation areas and workflow efficiency․ Many islands offer storage solutions like cabinets or drawers, helping to organize utensils and ingredients․ Aesthetically, they can match or contrast existing decor, offering a stylish focal point․ Some feature built-in appliances or sinks, improving functionality․ Islands also serve as social hubs, with seating areas for casual dining or entertaining․ Overall, they blend practicality with design, making kitchens more functional and inviting spaces․
Free PDF plans for DIY kitchen island projects offer immense value to enthusiasts․ They provide detailed step-by-step instructions, material lists, and diagrams, simplifying the building process․ These plans are cost-effective, saving money on expensive guides․ They also empower DIYers to customize designs to fit their kitchen’s unique style and space․ With free PDFs, homeowners can avoid hiring professionals, learning new skills and achieving professional-grade results․ This accessibility makes DIY projects more approachable and rewarding for everyone․
Building a kitchen island requires basic tools like a saw, drill, and screwdriver․ Materials include lumber, screws, wood glue, and finishes for customization․
Ensure you have sandpaper, paint, and decorative hardware for the final touches to create a functional and stylish kitchen island․
To build a kitchen island, you’ll need a circular saw for cutting lumber, a drill for screwing pieces together, and a screwdriver for securing hardware․
A tape measure and square ensure accurate cuts and alignment․ Sandpaper smooths surfaces, while a hammer and clamps help during assembly․ For finishing, paintbrushes or rollers are essential․
These tools will help you construct a sturdy and stylish kitchen island, ensuring a professional finish․
A basic kitchen island requires plywood or MDF for the top and shelves, 2×4 lumber for the frame, and 3/4-inch plywood for the sides and back․
You’ll also need screws, nails, wood glue, and sandpaper for assembly․ For finishing, choose paint, stain, or sealant to match your kitchen decor․ Additional materials like hinges, knobs, or decorative trim can enhance functionality and style․
These materials ensure a durable and attractive kitchen island that fits your needs and budget․
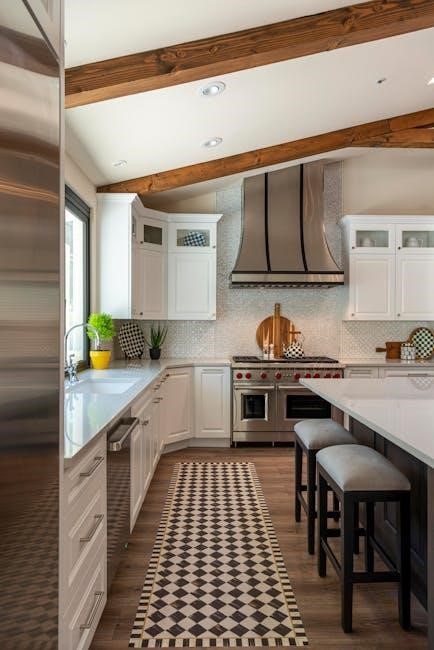
Kitchen islands come in various styles, from modern to rustic, offering versatility to suit any kitchen decor․ Free PDF plans provide inspiration for custom designs and layouts․
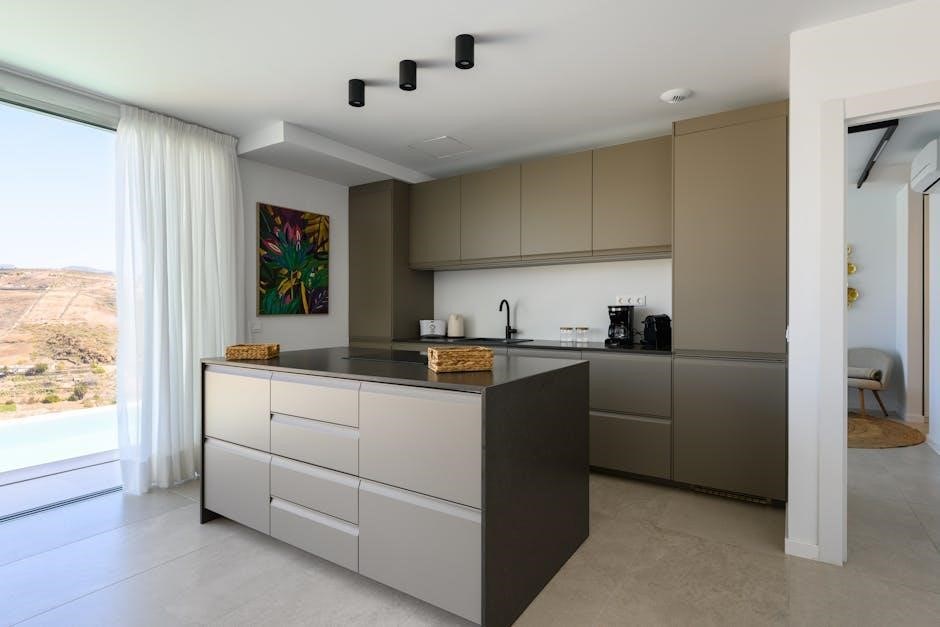
Modern kitchen islands feature sleek lines, minimalist designs, and materials like metal or glass, offering a contemporary look․ Rustic designs emphasize natural elements, such as reclaimed wood and vintage details, creating a cozy, traditional atmosphere․ Free PDF plans often include templates for both styles, allowing DIYers to choose based on their kitchen’s aesthetic․ Whether aiming for a polished, urban feel or a warm, countryside vibe, these designs cater to diverse preferences and spaces, ensuring functionality and visual appeal tailored to any home․
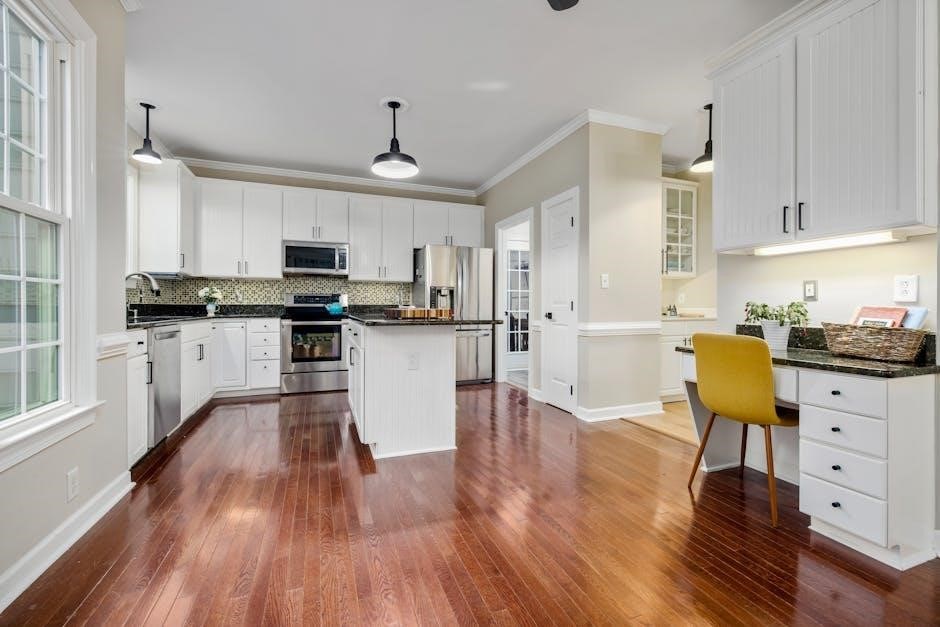
Customizing your kitchen island with cabinets and countertops allows for personalized functionality and style․ Choose from various cabinet styles, such as open shelving or closed storage, to suit your needs․ Countertops can be crafted from materials like butcher block, granite, or quartz, offering durability and aesthetic appeal․ Free PDF plans often include options for integrating sinks, cooktops, or electrical outlets, making your island a versatile workspace․ These elements ensure your island blends seamlessly with your kitchen’s design while providing practical solutions for cooking and entertaining․

Kitchen islands offer ample storage opportunities with shelves, cabinets, and drawers․ Incorporate creative ideas like baskets or hooks to maximize space and keep essentials within easy reach․
Enhance your kitchen island’s functionality by incorporating cabinets, drawers, and shelves․ These storage solutions provide ample space for utensils, cookware, and ingredients․ Cabinets offer enclosed storage, while drawers allow easy access to frequently used items․ Open shelves are perfect for displaying cookbooks or decorative pieces․ Many free PDF plans include designs with customizable storage options, ensuring your island meets your specific needs․ Consider adding dividers or baskets for extra organization, making your kitchen island both practical and stylish․
Optimize your kitchen island’s potential with innovative storage solutions․ Incorporate pull-out drawers, hooks, or hanging baskets to utilize vertical space․ Use adjustable shelves or dividers to organize utensils and ingredients efficiently․ Many free PDF plans include designs for hidden compartments or sliding trays, perfect for keeping items like spices or cleaning supplies within easy reach․ Consider adding a pegboard for hanging tools or a built-in wine rack for extra functionality․ These creative ideas ensure your island is both stylish and highly functional, making the most of available space․
Measure your kitchen space to determine the ideal island size, ensuring adequate clearance․ Choose a layout that complements your workflow and existing design․ Free PDF plans guide you in selecting the perfect fit for functionality and aesthetics, ensuring your island enhances your kitchen’s efficiency and style․
To ensure your kitchen island fits seamlessly, start by measuring your kitchen’s length and width․ Consider the work triangle, maintaining at least 36 inches of clearance around the island for comfort․ Sketch a floor plan, marking key features like the stove, sink, and refrigerator․ Measure pathways, ensuring they remain at least 42 inches wide․ Account for obstructions like vents or outlets and decide on the island’s height and placement․ If adding seating, factor in space for chairs․ Finally, assess the floor’s ability to support the island’s weight and plan for electrical needs, ensuring the design complements your kitchen’s style․
When planning your kitchen island layout, prioritize functionality by positioning it away from high-traffic areas․ Ensure it complements the kitchen’s workflow, keeping it at least 42 inches from other surfaces․ Consider the island’s purpose—whether for cooking, storage, or seating—and design accordingly․ For aesthetics, choose materials and styles that align with your kitchen’s decor, such as matching cabinetry or countertops․ Incorporate lighting or outlets for convenience and ensure the design balances practicality with visual appeal, creating a harmonious and efficient space․
Free PDF plans provide detailed, step-by-step guides for constructing a kitchen island, including tools, materials, and Assembly instructions for a successful DIY project․
Start by gathering tools and materials as listed in your PDF plan․ Begin with the base, ensuring all cuts are precise using a saw․ Construct the frame with screws or nails, following the measurements provided․ Use clamps to hold pieces in place while assembling․ Double-check alignment and squareness before securing․ Sand any rough edges once the frame is complete․ Attach wheels or legs for stability, depending on your design․ A sturdy base is essential for a functional and durable kitchen island․ Follow the step-by-step guide for a seamless assembly process․
Begin by measuring and cutting the countertop material to fit your island’s dimensions․ Secure it using adhesive and clamps, ensuring a tight bond․ Sand the edges for a smooth finish․ Apply paint, stain, or sealant to match your kitchen’s aesthetic․ Install any hardware, such as knobs or handles, for functionality․ Add decorative trim or molding for a polished look․ Finally, inspect and touch up any imperfections․ These finishing touches will transform your island into a stylish and functional centerpiece for your kitchen․
Customize your kitchen island by adding lighting, outlets, and other features․ Paint or stain the surface to match your kitchen’s style for a cohesive look․
Enhance functionality and style by adding lighting, such as pendant lights or under-cabinet lighting, to illuminate your kitchen island․ Install outlets or USB ports for convenient appliance use․ Consider adding a built-in cutting board, wine rack, or trash bin for extra convenience․ These features, often detailed in free PDF plans, allow you to tailor your island to your needs and preferences, making it a practical and stylish centerpiece in your kitchen․
Personalize your kitchen island by painting or staining it to match your kitchen’s aesthetic․ Choose a color that complements your cabinets or countertops for a cohesive look․ Sand the surface for smooth finishing and apply a protective sealant․ Add decorative trim, molding, or hardware to enhance its style․ Free PDF plans often include tips for finishing touches, ensuring your island blends seamlessly with your kitchen’s decor while adding a unique, custom flair to the space;
Explore stunning examples of DIY kitchen island projects completed using free PDF plans․ Discover various styles, from modern to rustic, and gain inspiration for your own custom design․
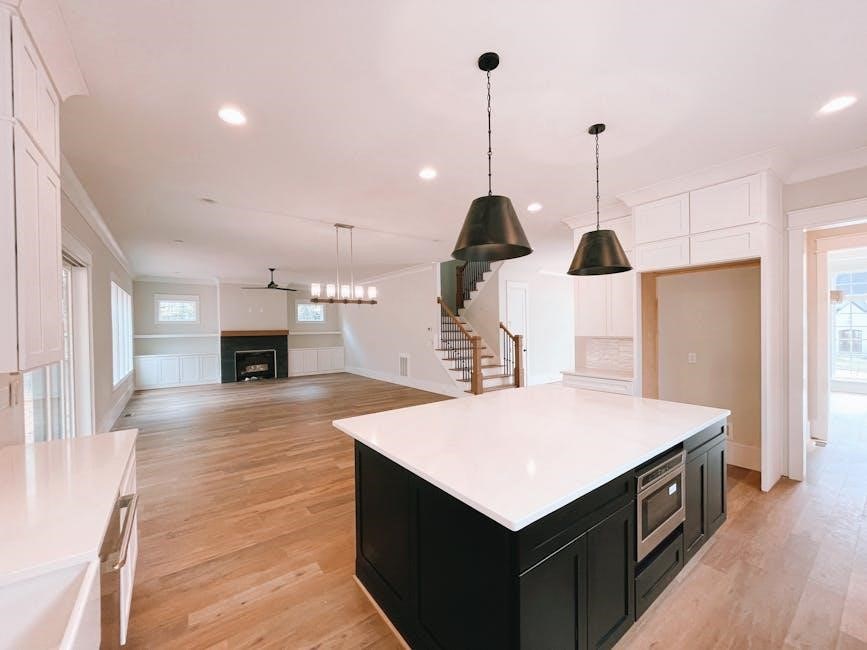
Witness the dramatic transformations in before and after photos of DIY kitchen island projects․ These visual stories showcase how a simple space evolves into a functional and stylish centerpiece․ From bare floors to fully assembled islands, the photos highlight the creativity and skill of DIY enthusiasts․ Each project demonstrates how free PDF plans can guide you from concept to completion, inspiring you to tackle your own kitchen makeover․ The results often feature beautiful finishes, clever storage solutions, and a seamless blend of form and function․
DIY enthusiasts have achieved remarkable results using free kitchen island plans PDFs, transforming their spaces with creativity and skill․ Many have shared their journeys, showcasing how these plans enabled them to build functional and stylish islands․ From maximizing storage with cabinets to adding elegant countertops, these projects highlight the versatility of DIY solutions․ Homeowners have reported increased kitchen efficiency and aesthetic appeal, often completing their islands on budget and within weekends․ These success stories inspire others to embark on their own DIY adventures, proving that with the right plans, anyone can create a beautiful kitchen island․